Image Compressor: Reduce Image Size Without Losing Quality (Complete Guide)
Large image files can slow down websites, take more storage space, and make sharing files difficult. An Image Compressor helps reduce image file size while keeping the picture clear and sharp. Whether you are a blogger, student, photographer, designer, or website owner, compressing images is one of the easiest ways to improve performance and save storage.
In this guide, you'll learn how image compression works, why it matters, its benefits, and how to compress images without losing quality.
Table of Contents
What Is an Image Compressor?
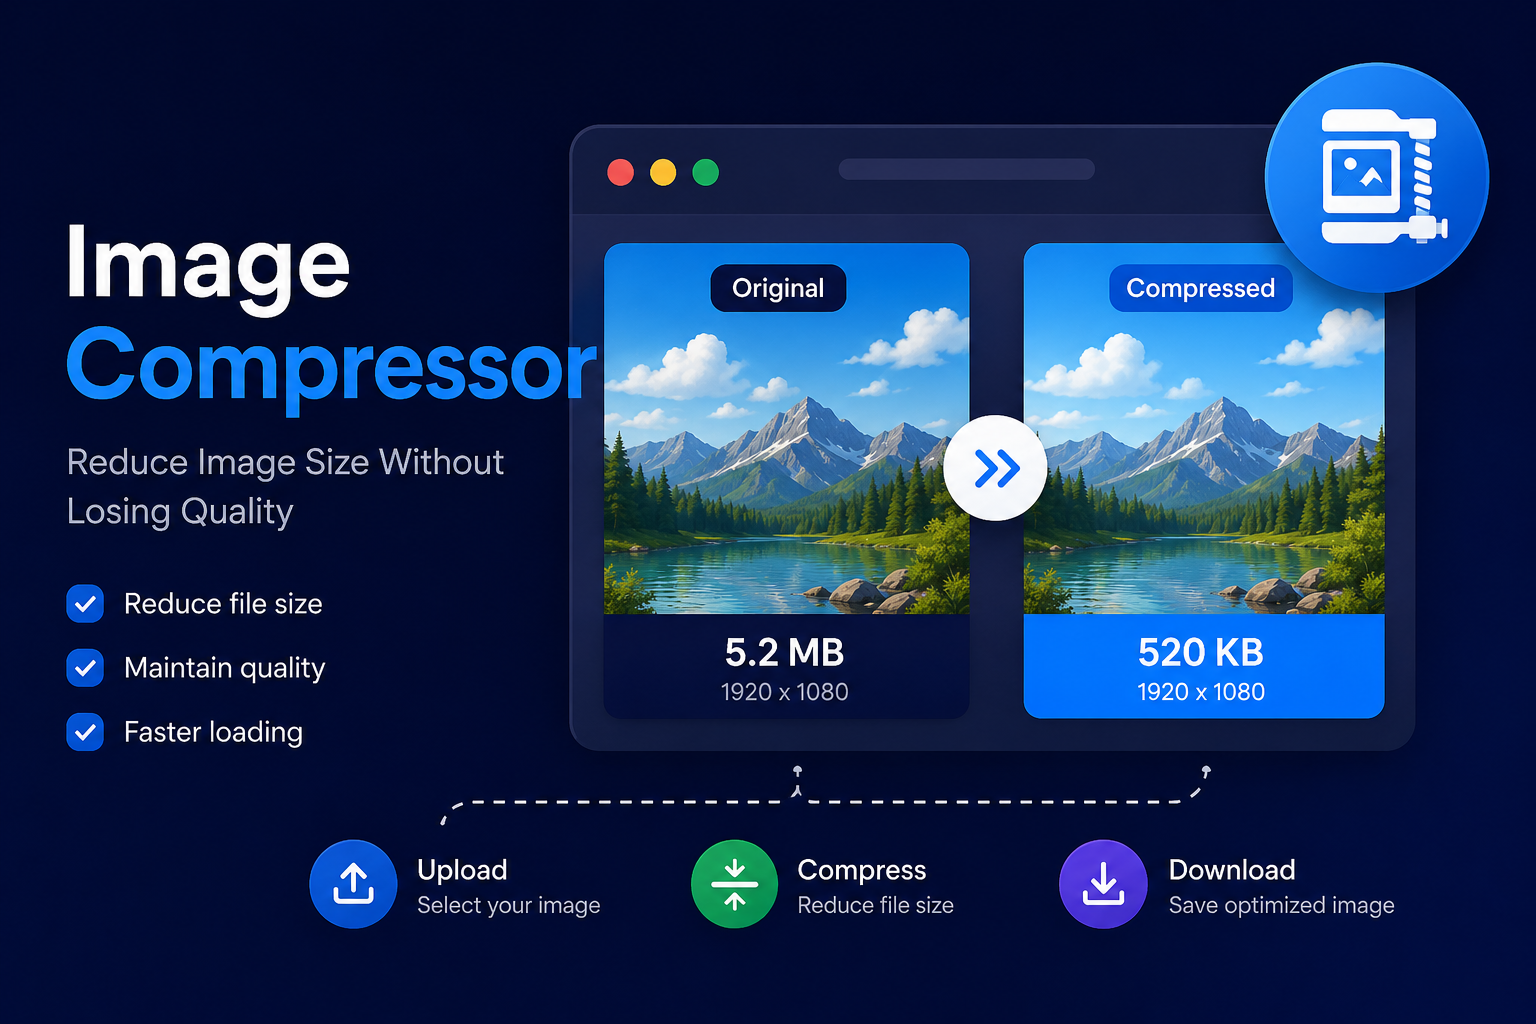
An Image Compressor is a tool that reduces the size of an image file without making noticeable changes to its quality. Instead of changing how the image looks, it removes unnecessary data so the file becomes smaller and easier to store or share.
For example, a 5 MB photo can often be reduced to less than 1 MB while still looking almost identical to the original image.
Smaller images improve loading speed, reduce storage usage, and make websites perform better.
Why Should You Use an Image Compressor?
Compressing images offers several advantages for both personal and professional use.
Faster Website Loading
Large images are one of the main reasons websites become slow. Smaller files load much faster and improve the browsing experience.
Save Storage Space
Reduced image sizes mean more free storage on your computer, smartphone, or cloud storage.
Easy Sharing
Compressed images upload faster and can be shared quickly through email or messaging applications.
Better Performance
Optimized images help webpages load smoothly, especially for visitors using mobile devices or slower internet connections.
How Does an Image Compressor Work?
An Image Compressor reduces file size using different compression techniques.
Lossy Compression
Lossy compression removes some image data that is difficult for the human eye to notice.
- Very small file sizes
- Ideal for websites
- Faster loading speed
- Perfect for social media
Lossless Compression
Lossless compression keeps all image information while removing unnecessary data from the file.
- No visible quality loss
- Ideal for logos
- Perfect for graphics
- Suitable for professional editing
Image Compressor for Different Image Formats
JPG Images
JPG is widely used for photographs because it offers a good balance between quality and file size.
PNG Images
PNG supports transparent backgrounds and is commonly used for logos, graphics, and icons.
WebP Images
WebP provides excellent quality while keeping file sizes smaller than traditional formats.
GIF Images
GIF files are mainly used for simple animations and can also benefit from optimization.
Why Every Website Should Use an Image Compressor
Every website should optimize images before publishing them online. Smaller files create a better experience for visitors and reduce page loading time.
Improve User Experience
Fast websites keep visitors engaged and reduce bounce rates.
Support SEO
Search engines prefer websites that load quickly. Compressing images is one of the simplest performance improvements.
Reduce Bandwidth Usage
Smaller images consume less bandwidth, helping websites perform efficiently during high traffic.
How to Compress Images Without Losing Quality
Follow these simple steps to optimize your images.
Step 1: Upload Your Image
Select an image from your device using your preferred compression tool.
Step 2: Select Compression Level
Choose the quality level that matches your needs.
Step 3: Compress the Image
The tool processes your image within a few seconds.
Step 4: Download the Optimized Image
Save the compressed image and use it for your website, blog, online store, or social media.
Best Practices for Using an Image Compressor
To get the best results, always compress your images before uploading them to your website or sharing them online. This keeps your files smaller while maintaining good visual quality.
Choose the Right File Format
JPG is suitable for photographs, PNG works well for graphics with transparency, and WebP offers an excellent balance between quality and file size.
Avoid Multiple Compression
Compress an image only once whenever possible. Repeated compression may reduce image quality over time.
Keep the Original Image
Always save the original file so you can create a new optimized version whenever needed.
Image Compressor vs Image Resizer
Many people think image compression and image resizing are the same, but they perform different tasks.
| Feature | Image Compressor | Image Resizer |
|---|---|---|
| Purpose | Reduce file size | Change image dimensions |
| Quality | Usually maintained | Depends on resizing |
| Best For | Websites, blogs, email | Social media, thumbnails |
If you need to change image dimensions before uploading, try our Image Resizer.
Common Mistakes While Compressing Images
- Using maximum compression for every image.
- Uploading large camera photos directly to a website.
- Ignoring modern formats like WebP.
- Compressing the same image repeatedly.
- Not checking the final image quality.
How Image Compression Helps SEO
Optimized images improve page loading speed, reduce bandwidth usage, and provide a better browsing experience. These improvements can support your overall SEO strategy.
Before publishing any image, make sure you:
- Compress the image.
- Use descriptive file names.
- Add meaningful alt text.
- Select the correct image format.
- Upload only the required image size.
Frequently Asked Questions
What is an Image Compressor?
It is a tool that reduces image file size while keeping image quality as high as possible.
Does image compression reduce quality?
Good compression tools reduce file size with very little visible quality loss.
Which format is best for websites?
WebP is usually the best choice because it provides excellent quality with smaller file sizes.
Can I compress images on my phone?
Yes. Most modern online tools work on smartphones, tablets, laptops, and desktop computers.
Is image compression good for SEO?
Yes. Smaller images improve loading speed and create a better experience for website visitors.
Can I compress PNG and JPG images?
Yes. Most tools support JPG, PNG, WebP, GIF, and several other popular formats.
Is my uploaded image safe?
Reputable online tools protect user files and often remove them automatically after processing.
Should I compress images before uploading them?
Yes. Compressing images before uploading helps websites load faster and saves storage space.
Conclusion
Compressing images is one of the easiest ways to improve website performance, save storage space, and speed up file sharing. Whether you manage a blog, an online store, or a business website, optimizing your images should always be part of your workflow.
Choosing the right format, using the correct compression level, and following best practices will help you achieve excellent results without sacrificing quality.
You can also explore other useful tools on ToolBucket to make your image editing workflow even more efficient.